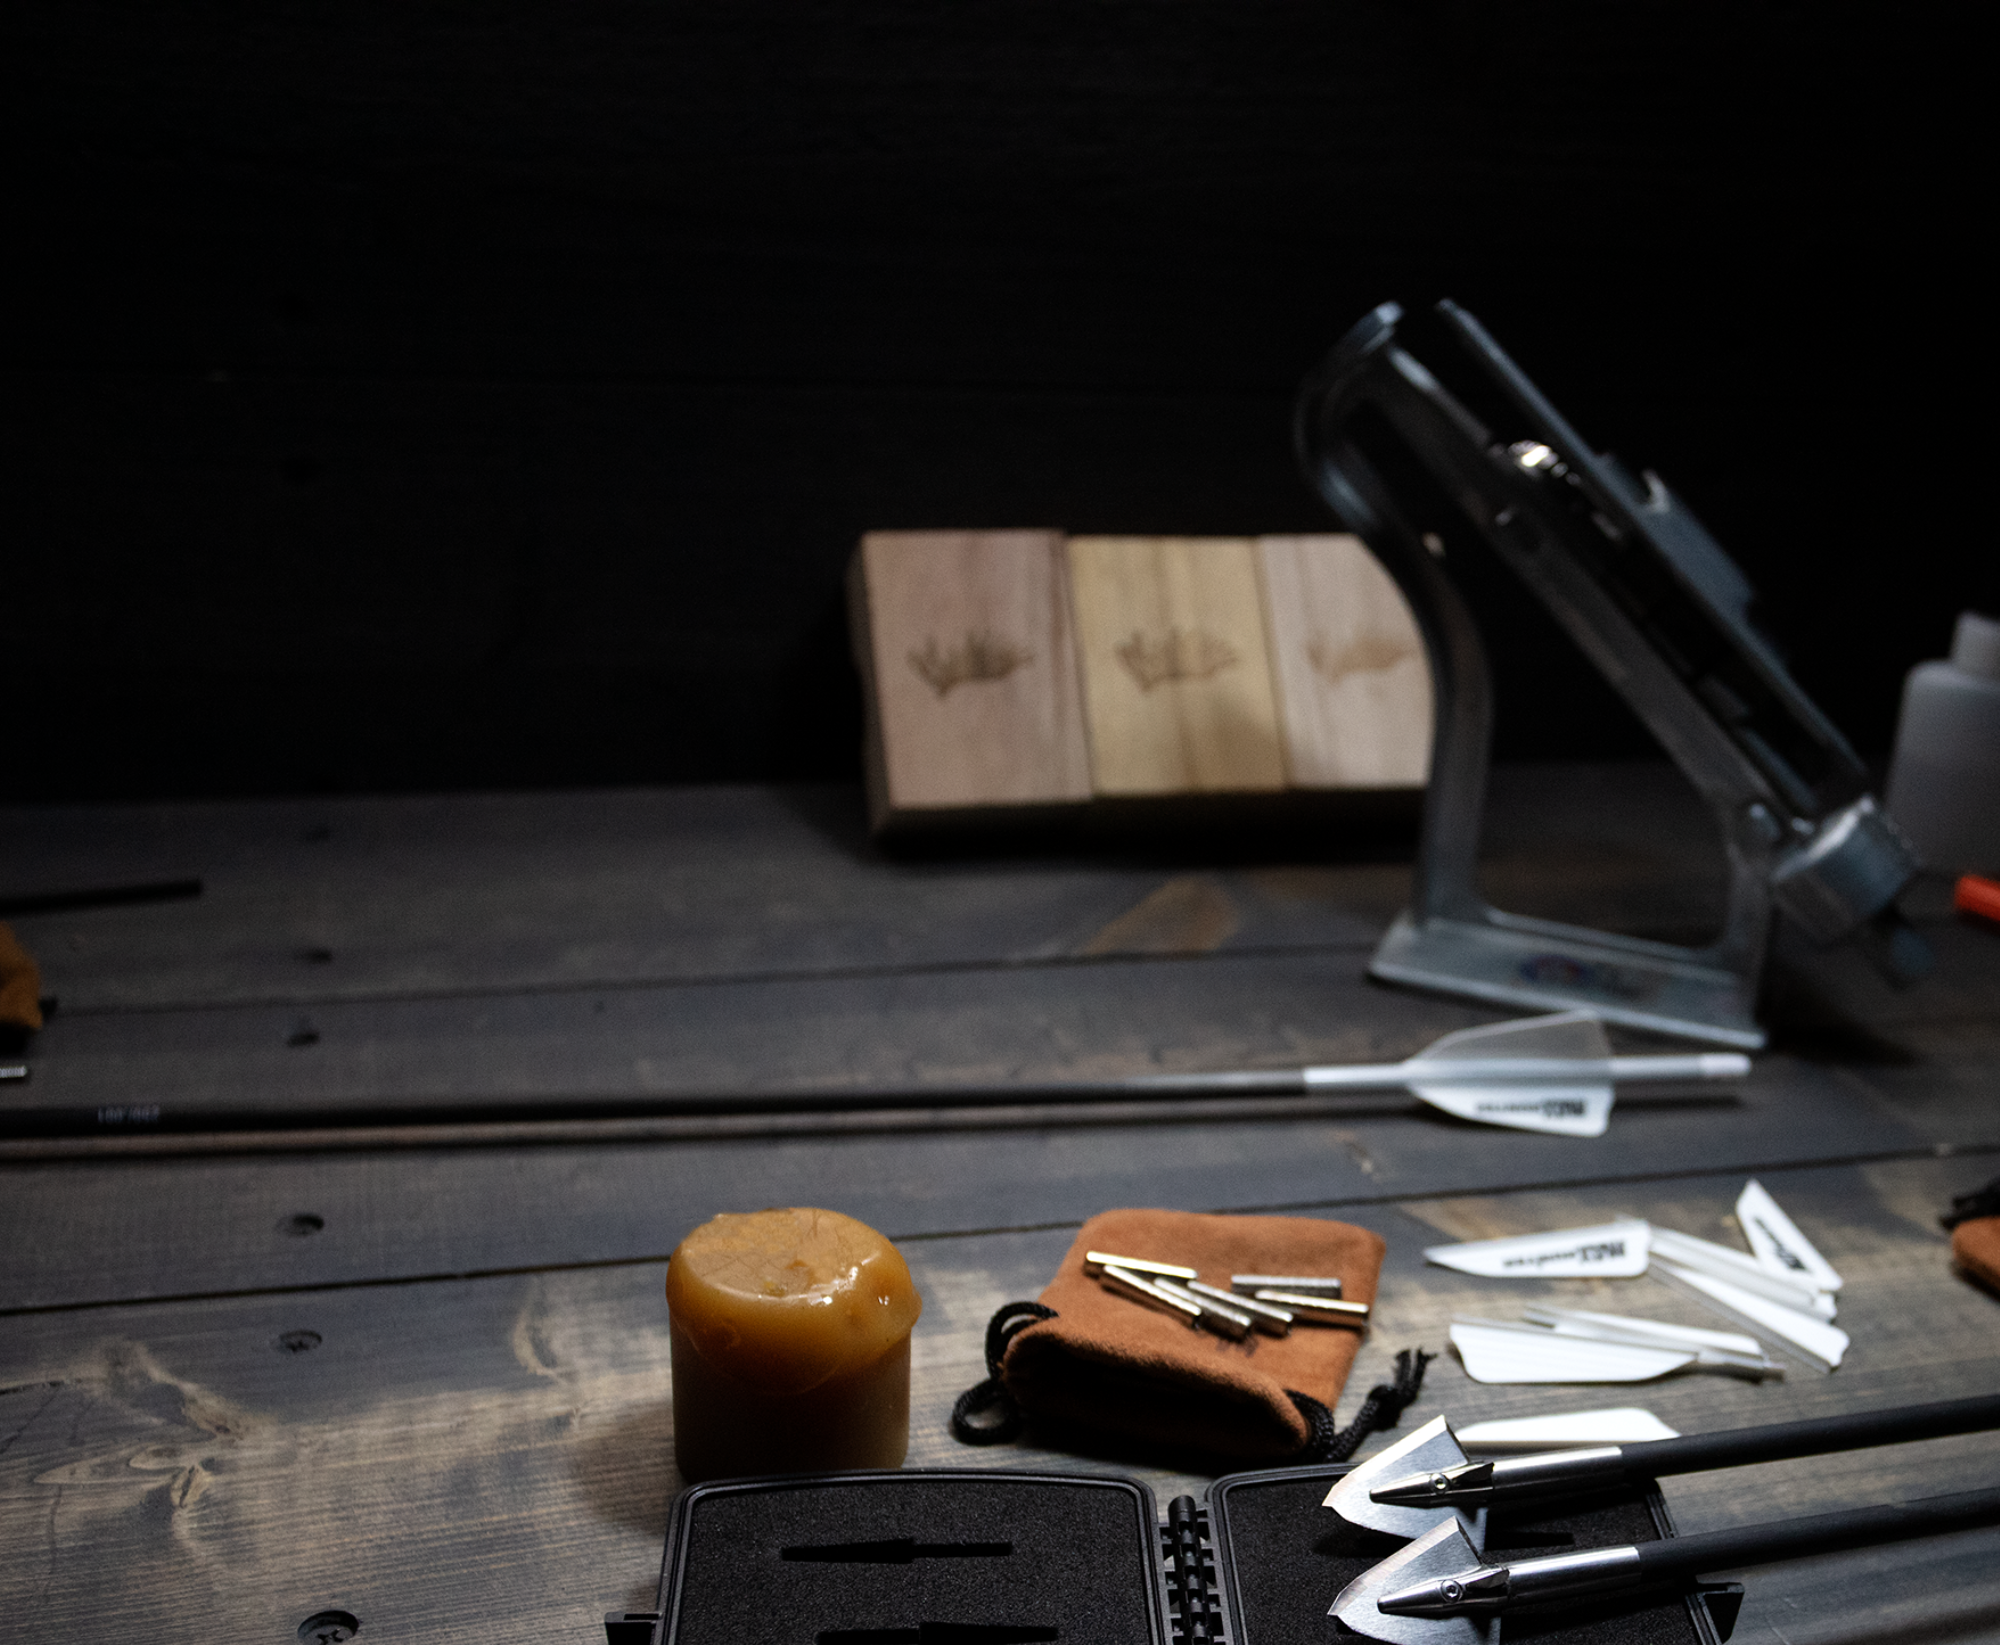
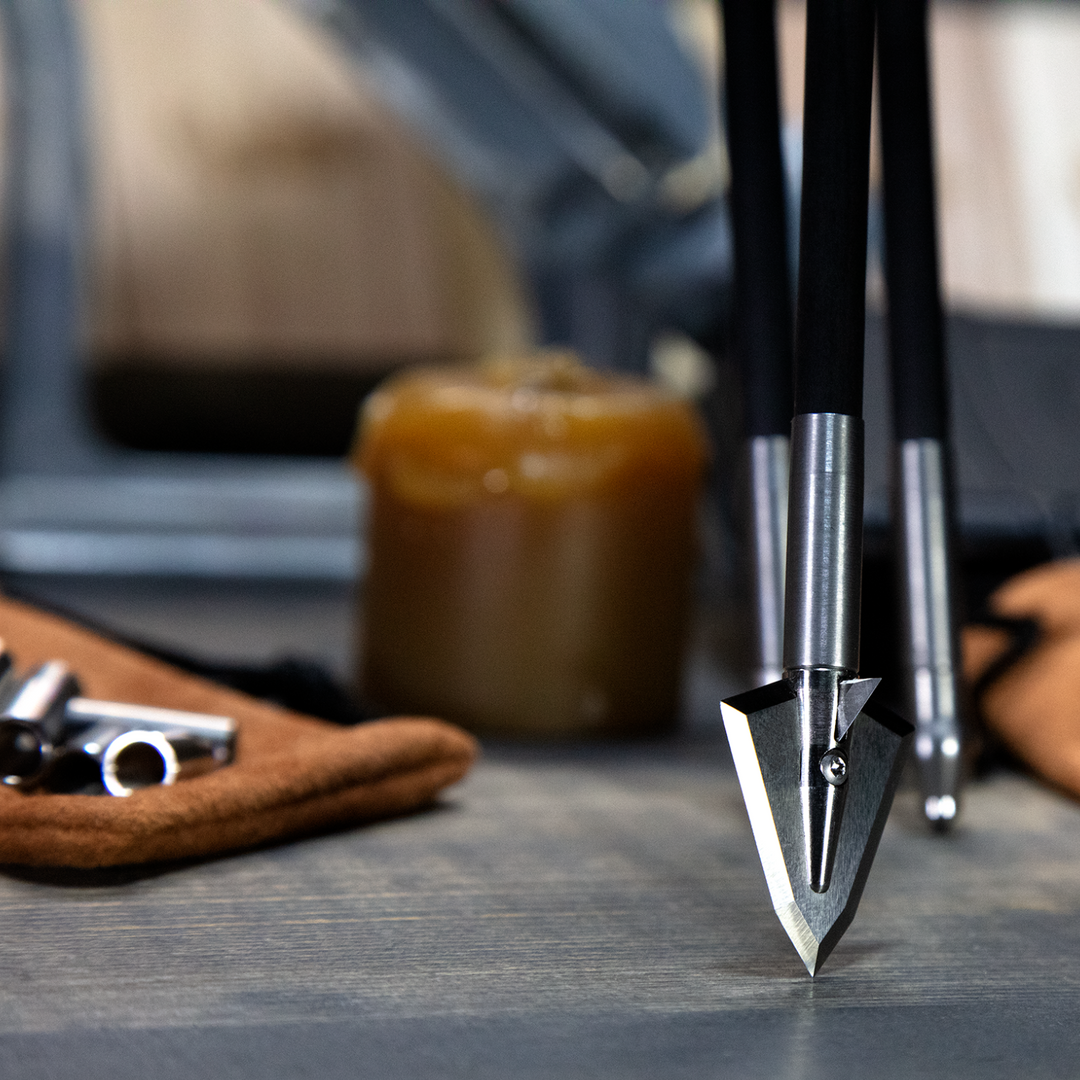
For bow hunters looking to add strength to the end of their arrows for maximum penetration through heavy bone, Iron Will Impact Collars slide over the end of arrows and are intended to be used with or without bonding to the arrow shaft. Depending on the arrow and Impact Collar used, there may be a slight gap between the collar and arrow shaft that you would want to fill with either hot melt glue or epoxy.
HOW TO INSTALL IMPACT COLLARS WITH
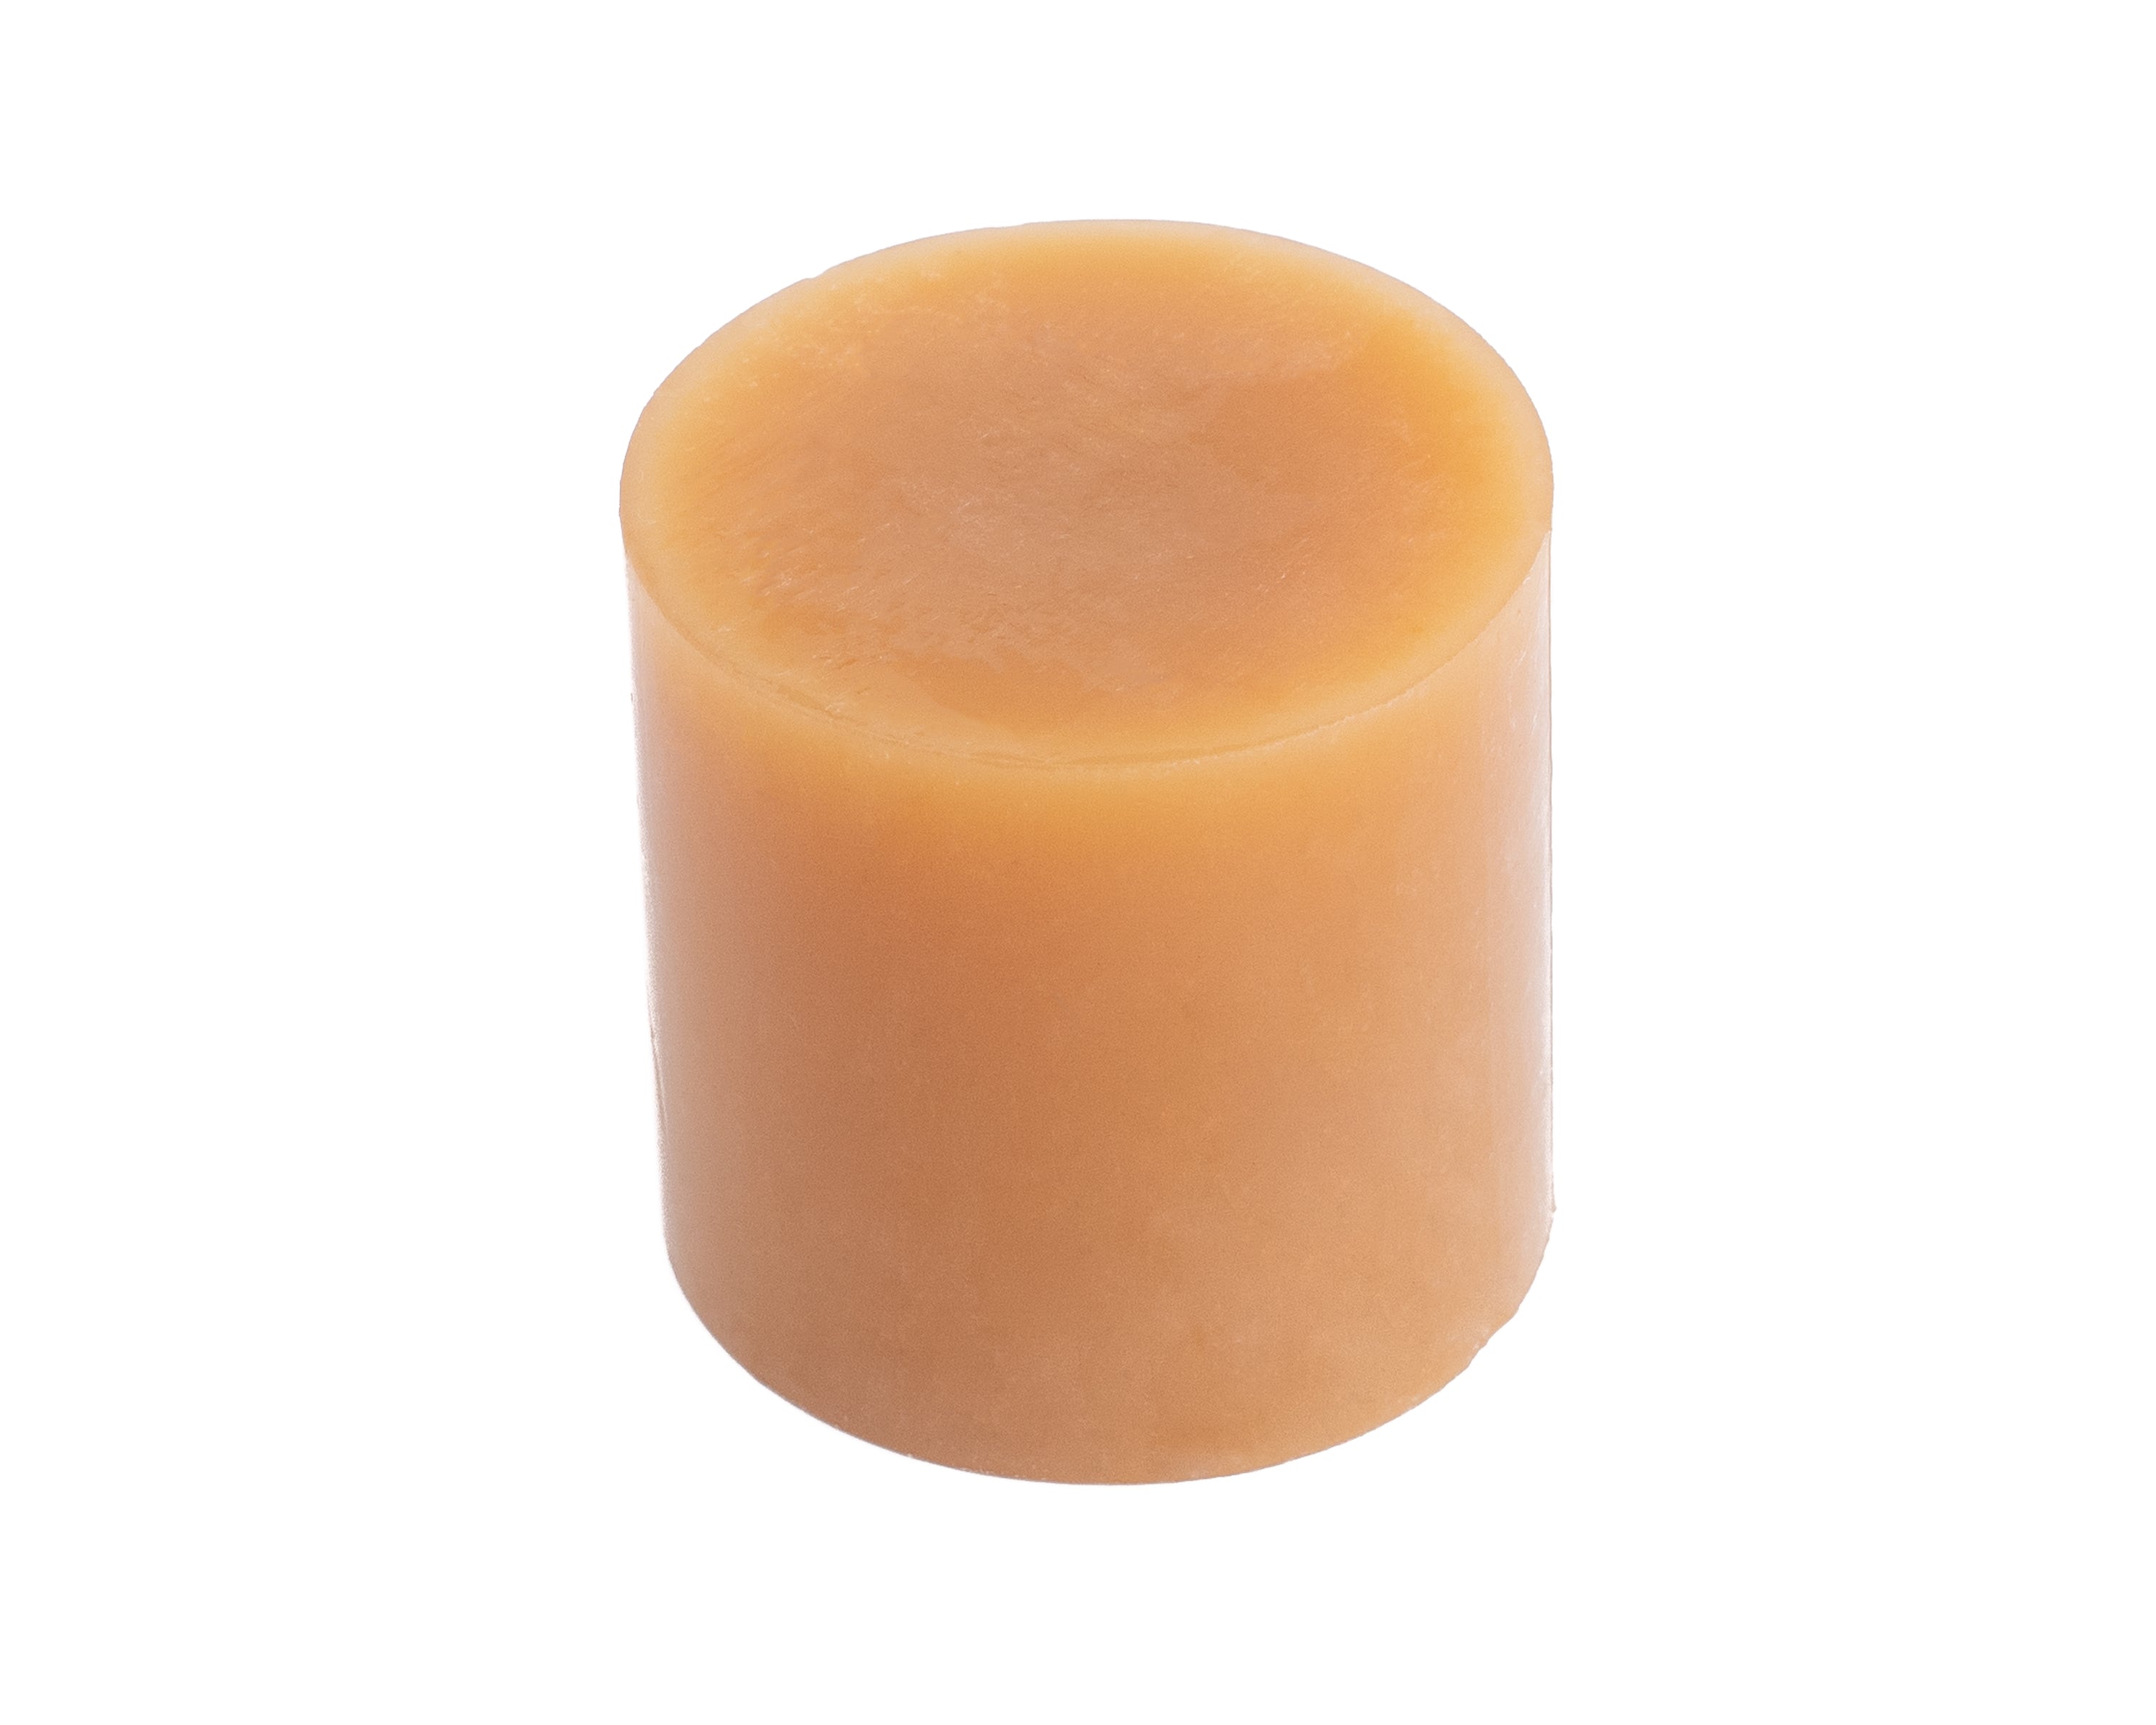
HOT MELT
- Use a heat gun to warm up both the collar and hot melt.
- Scrape a small amount of hot melt inside the bore of the back of the collar.
- Rotate the collar while sliding it onto your arrow to thoroughly spread the hot melt around the arrow shaft.
- Fully seat the Impact collar by pushing it against a wood block.
- In a few minutes, after the adhesive and collar have cooled, peel away any excess glue that may have mushroomed up outside the collar.
HOW TO INSTALL IMPACT COLLARS WITH
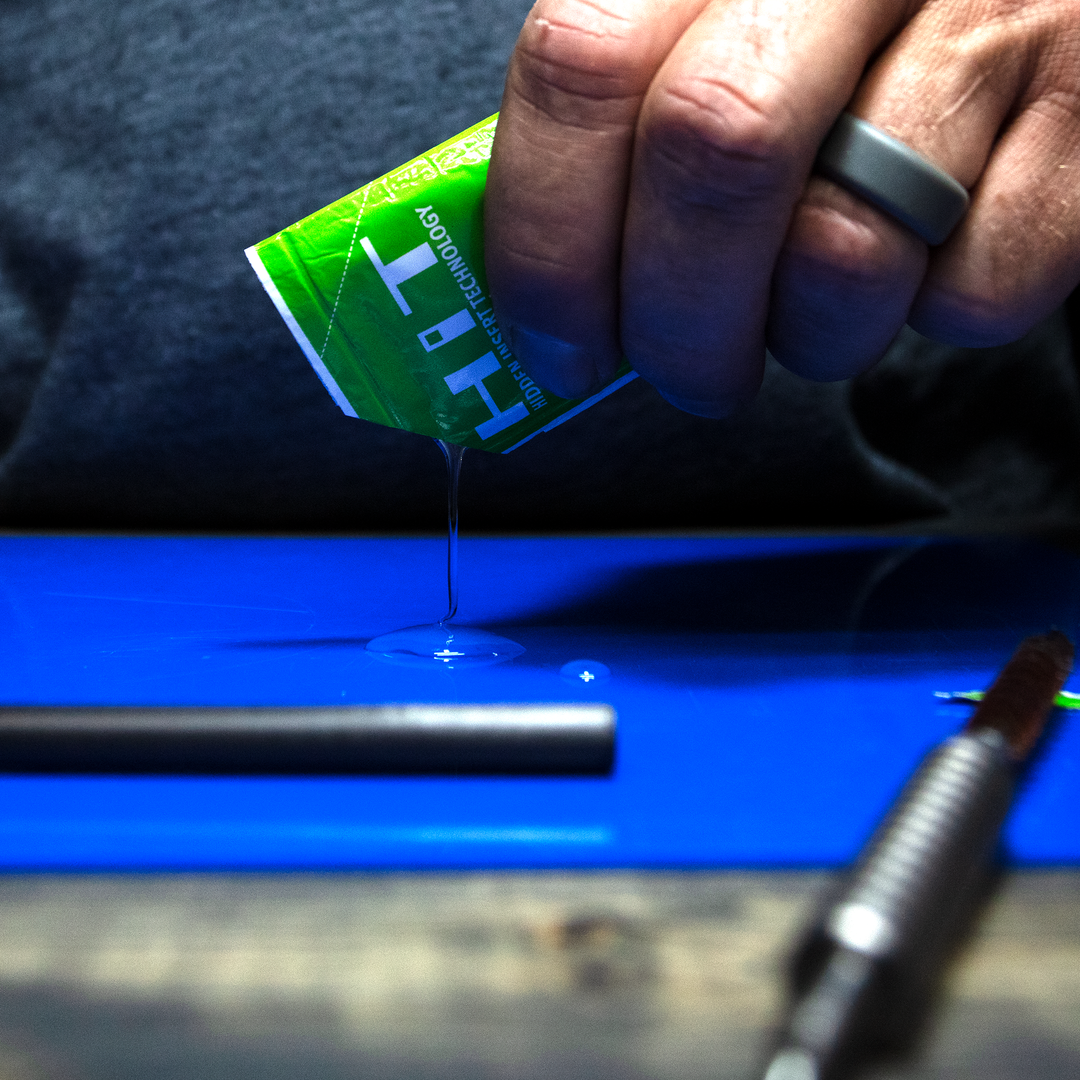
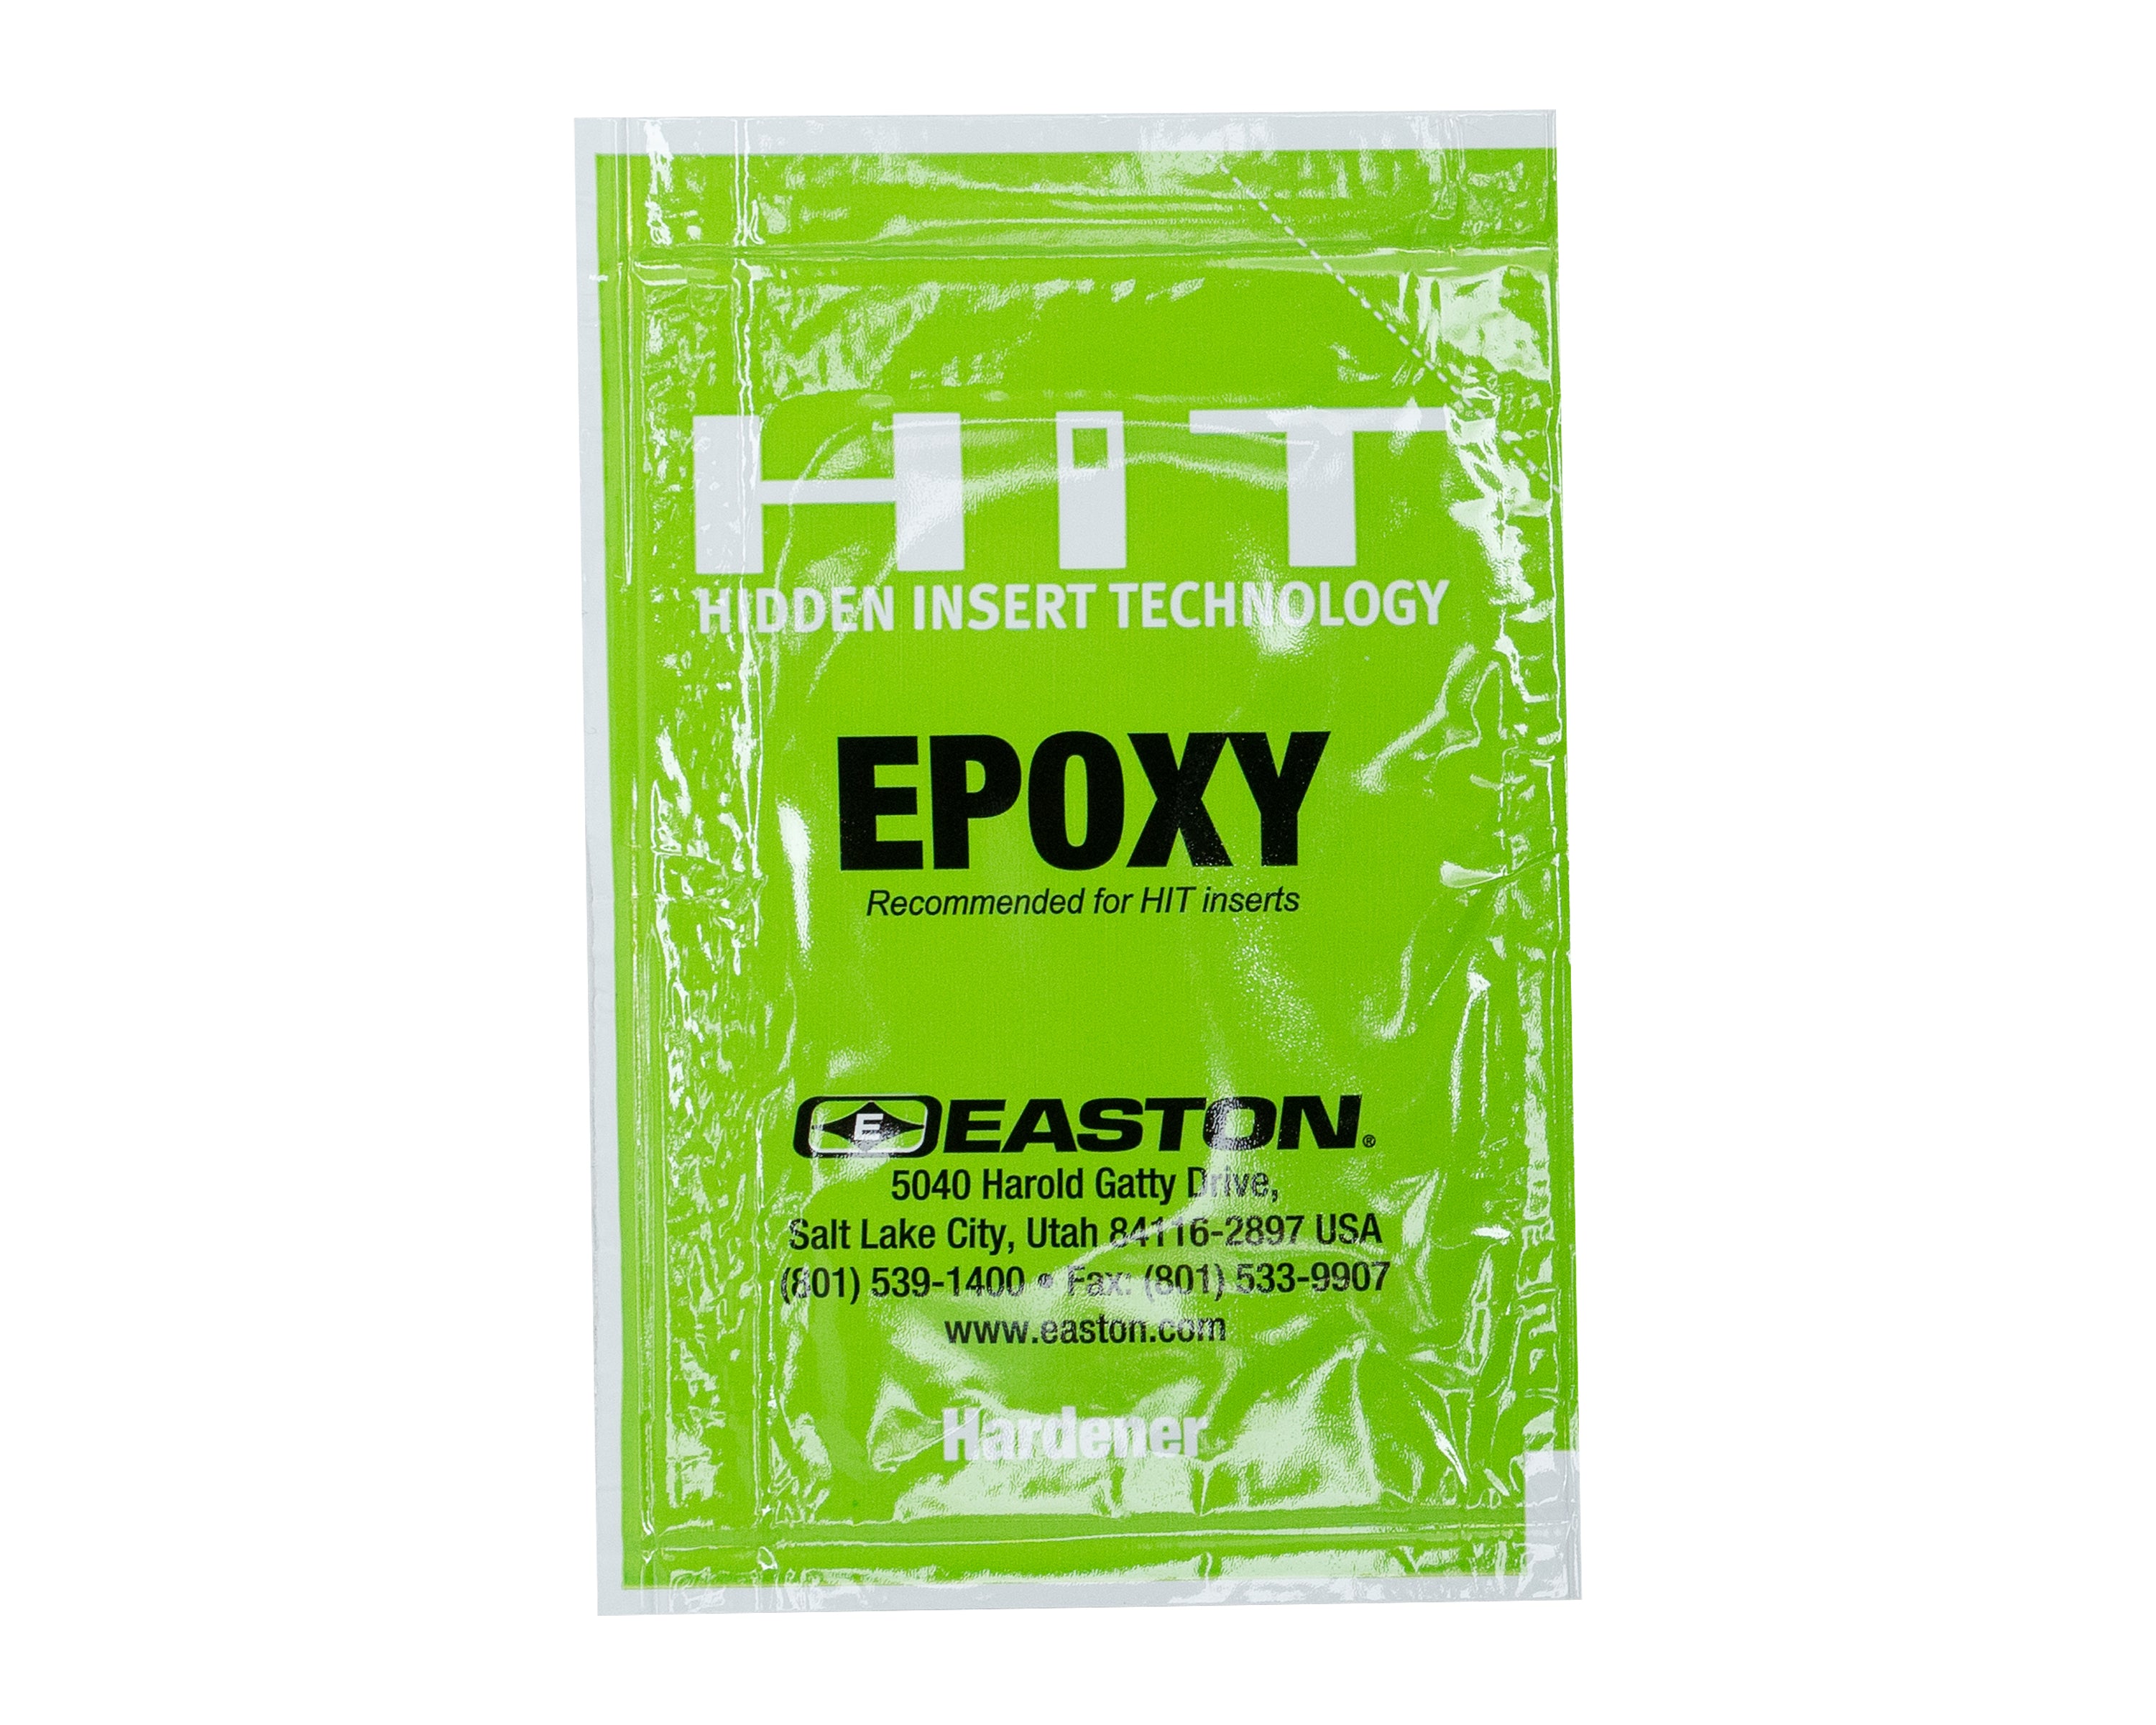
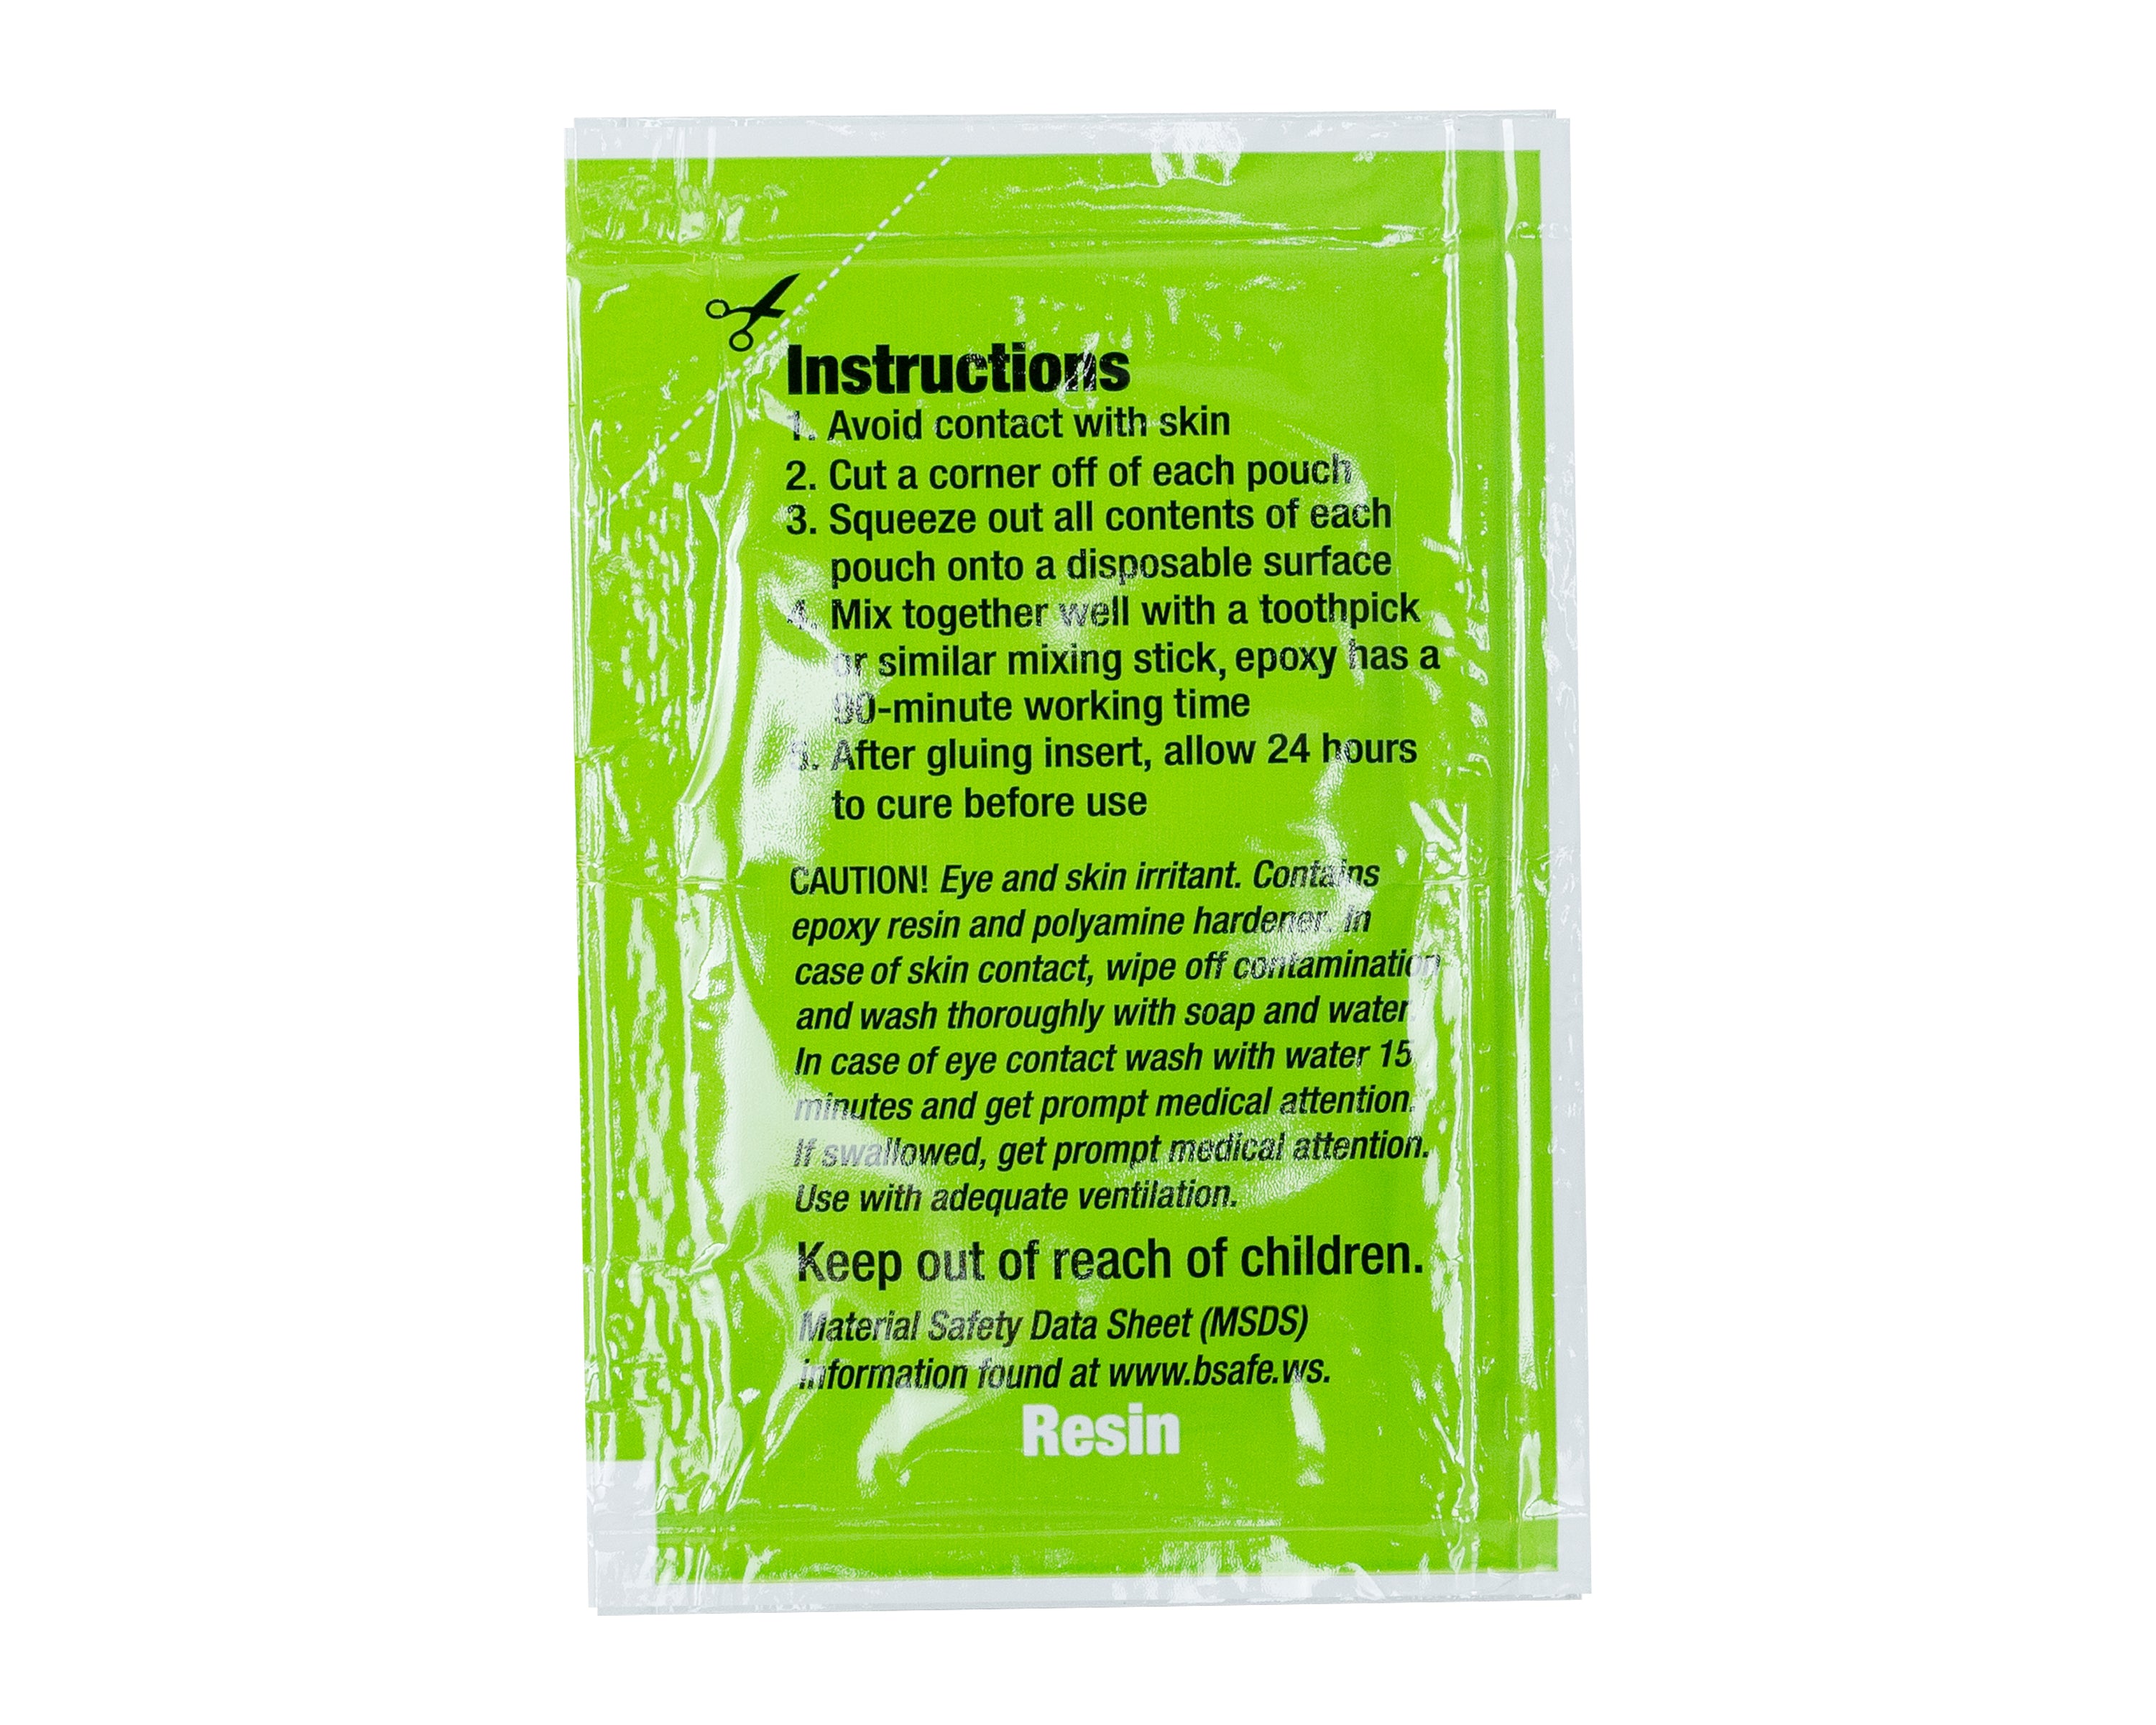
EPOXY
- Remove any dust or debris from the outside of the arrow using isopropyl alcohol and a cloth.
- Mix up equal parts of a two part epoxy. Be sure it's mixed thoroughly.
- Spread the mixed epoxy all the way around the last half inch of the arrow shaft.
- Slide the Impact Collar onto the arrow, rotating it as you do so, to evenly spread the epoxy around.
- Screw a field point all the way into your HIT Insert to fully seat the collar onto the shaft.
- Next, we recommend using an arrow spinner to check that the collar is well centered to the arrow. Rotate the collar to shift its position if needed.
- Finally, leave the arrows upright while the epoxy cures for 24 hours. DO NOT sit them horizontally on a table or the collar could be pushed off center.