Installing HIT Inserts Using 2 Part Epoxy - Building Arrows with Iron Will
Learn more about the ideal arrow with our Iron Will Reinforced HIT Bow Hunting System.
Get started by watching our HIT Insert Installation video.
What you will need to install HIT Inserts* using 2 Part Epoxy. After significant research, we found HIT Epoxy to be a superior glue for this application and we do not recommend using alternative kinds of glue.
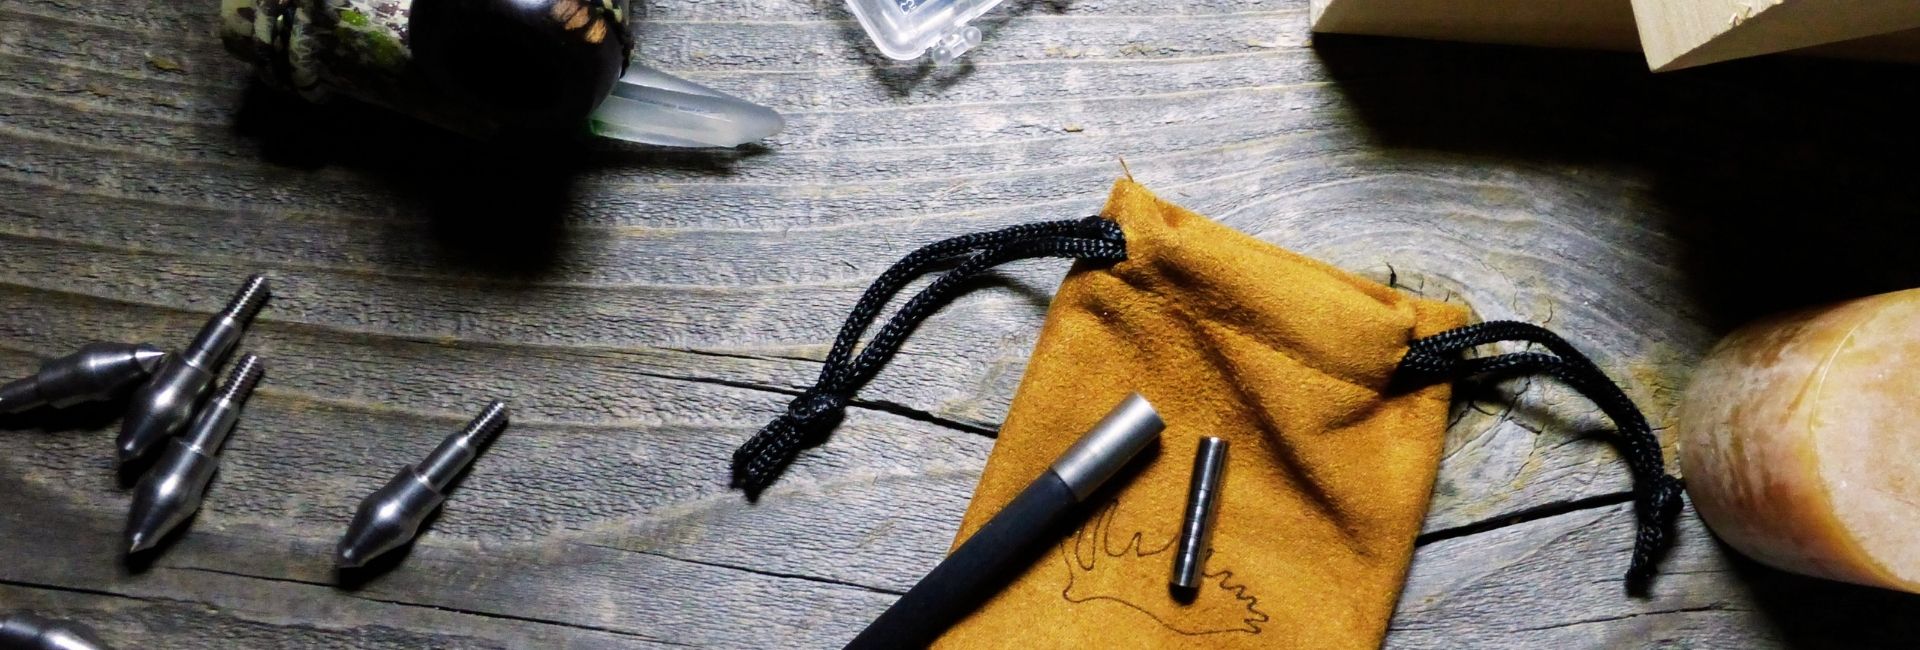
You Will Need:
Iron Will HIT InsertsHIT Insert Tool
HIT Epoxy - After significant research, we found HIT Epoxy to be a superior glue for this application and we do not recommend using alternative kinds of glue.
Isopropyl Alcohol
Q-Tips
Steps:
1.) Pull the nocks off of the arrows.2.) Cut and square your arrows if not already done.
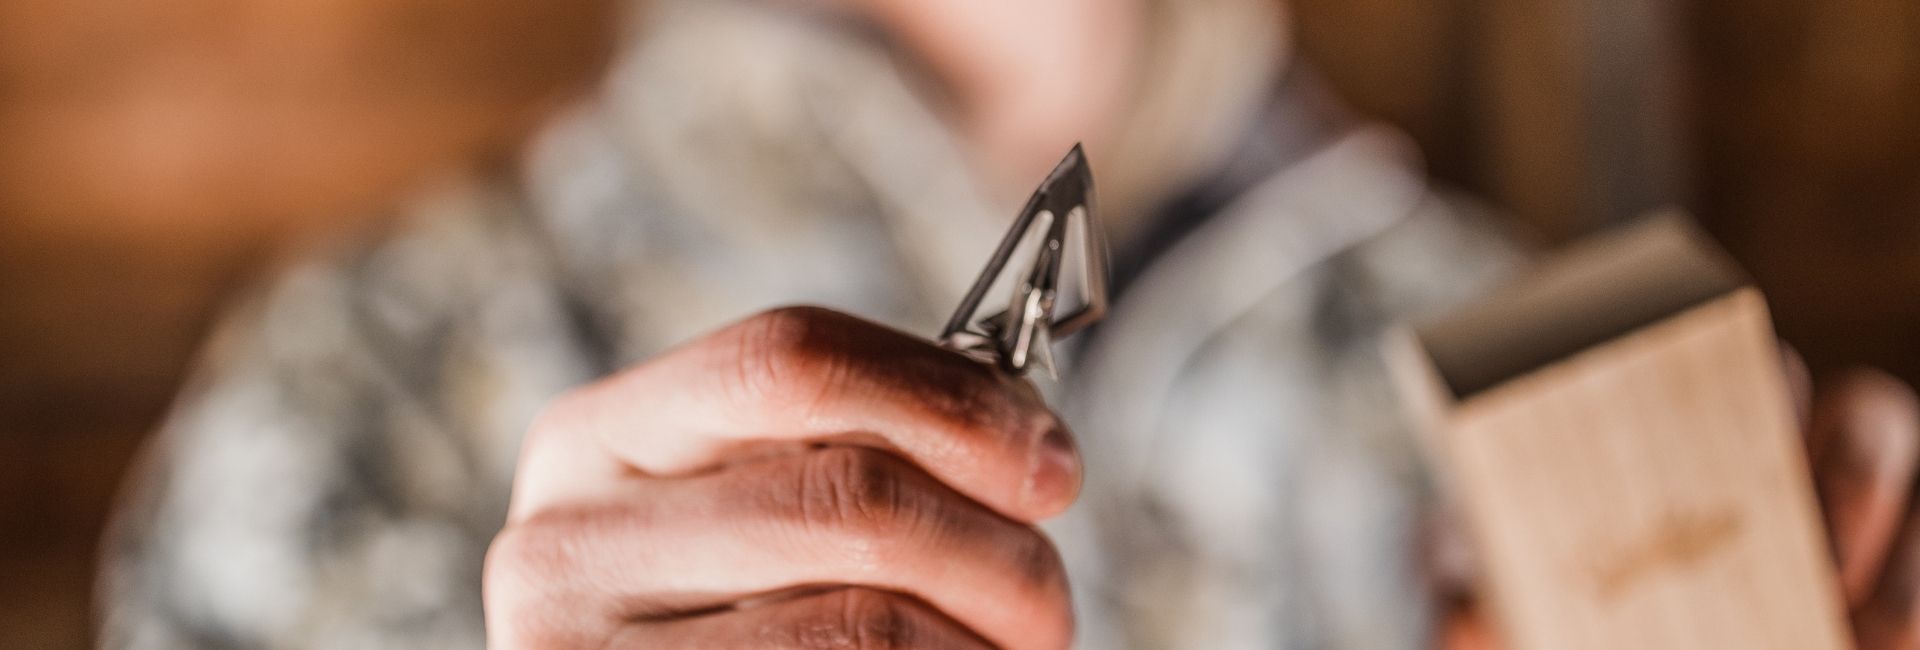
3.) SIZE CHECK: Do not skip this step. Confirm that you have the right size collars and HIT inserts for your arrows. Screw your HIT Insert into the back of your broadhead or field point. Check the fit of the HIT assembly inside the arrow shaft to be sure that it is snug but not too tight. You should be able to gently push the assembly in and out of the shaft with slight pressure. If it is a little tight, back the broadhead or field point off of the HIT a half rotation to allow it to self-center. Once you have verified that you have a good fit, remove the assembly from the shaft and remove the HIT Insert from the broadhead or field point.
4.) Use the properly sized HIT Insert Tool to score the bore. Push the brush slowly into the arrow shaft and seat it all the way in. Rotate the tool to roughen up the inside of the arrow shaft. Once you have scored the bore, unscrew the brush from the back of the tool. Clean the inside of the shaft using isopropyl alcohol. We do NOT recommend using acetone. Use a dry Q-Tip to completely dry the inside of the arrow shaft. Make sure there is no alcohol left inside.
5.) Mix the HIT Epoxy as directed on the package. Using equal parts of the epoxy from each side of the pouch, thoroughly mix the two parts together. You must use the two parts equally mixed. When mixed well, they will have a milky appearance. You cannot use just one side of the epoxy pouch. It is meant to be mixed together in equal parts.
6.) Glue the HIT Insert into the shaft using the HIT Insert Tool to the proper depth.
- Coat the back half of the HIT Insert all the way around with the prepared HIT Epoxy
- Partially insert the HIT Insert into the end of the arrow using your fingers to grip the HIT Insert. As you gently push the HIT Insert into the shaft, spin the arrow gently to allow the glue to rotate all the way around and adhere to the grooves inside the shaft and on the HIT Insert.
- Stop when the HIT Insert is about 1/2 inch from the end of the shaft and clean off all excess HIT Epoxy using a paper towel or rag.
- Use the insert tool to set the HIT Insert to the proper depth.
- Do not force the insert. Use consistent but gentle pressure while twisting the tool back and forth to prevent pressure build up in the shaft. Push the HIT Insert to the proper depth within the shaft as defined by the tool.
- Continue to twist the tool back and forth as you gently pull it back out of the shaft.
7.) IMPORTANT: Let your arrows rest in a horizontal position for 24 hours for epoxy to fully cure before shooting them. Drying arrows in an upright position may allow the inserts to move before they are completely dry.
After 24 hours, your arrows are ready for flight.
*HIT (Hidden Insert Technology) is used under license as a registered trademark of Easton Technical Products.